 Damon Salvatore AI
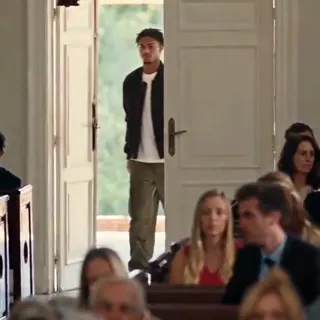
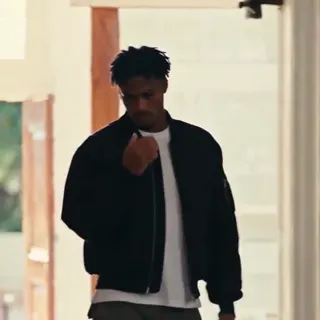
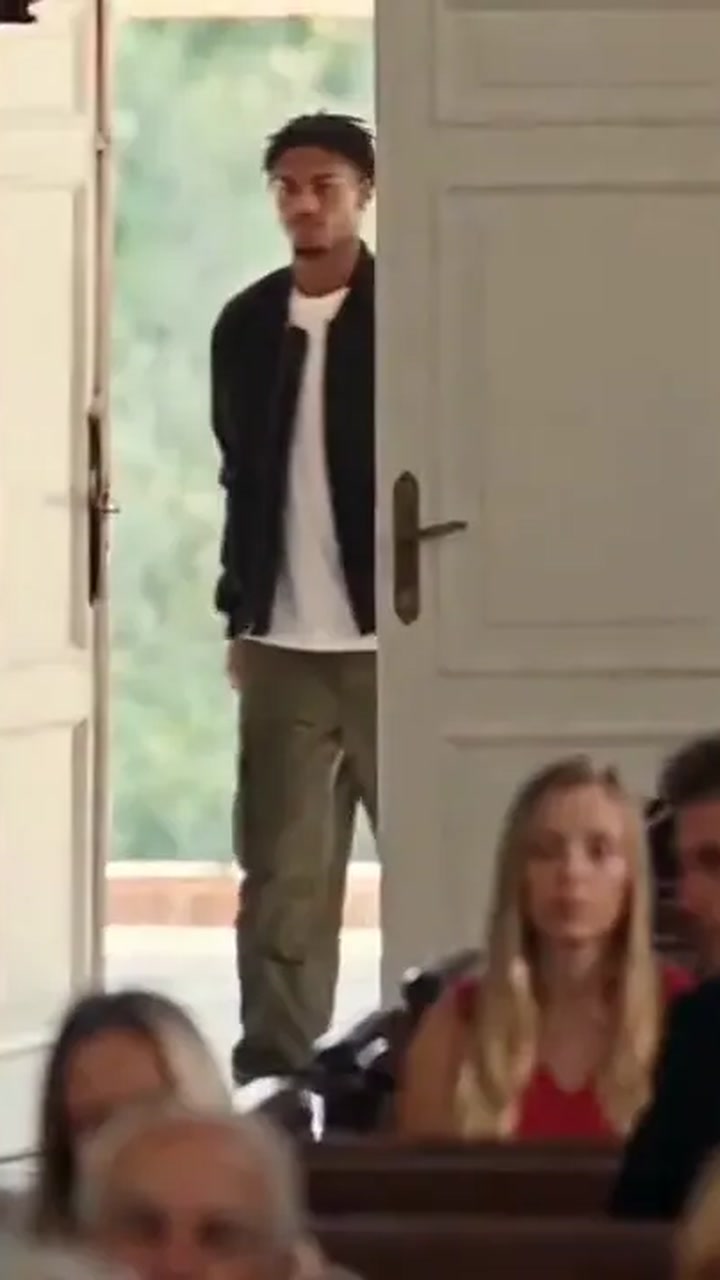
This Damon Salvatore AI tutorial takes you from one portrait to a finished church-scene clip. It covers the part that matters most before generation—choosing a photo with clear facial detail—then explains how this workflow differs from a CapCut template and how to prepare the result for TikTok or Instagram Reels. To see the sequence before you begin, watch the Damon Salvatore AI video preview.
Damon Salvatore AI tutorial: the quick workflow
The basic workflow has four parts: choose a suitable portrait, upload it to the Damon Salvatore AI generator, start the generation, and download the completed file from My videos. The tool uses your photo as the subject for the church-scene sequence, so you do not need to record matching footage first.
The finished Damon Salvatore AI video is a ten-second, 9:16 portrait MP4 at 480p. It includes the reference audio and has no watermark. Because visual details can vary from one result to another, preview the entire clip before you publish it. If you want to understand the sequence before generating your version, read the church scene breakdown first.

Choose a photo that gives the Damon Salvatore AI video clear detail
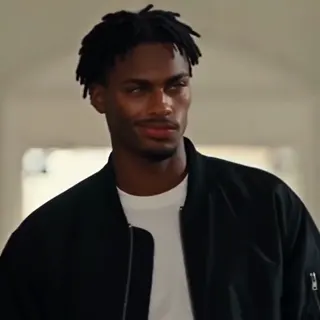
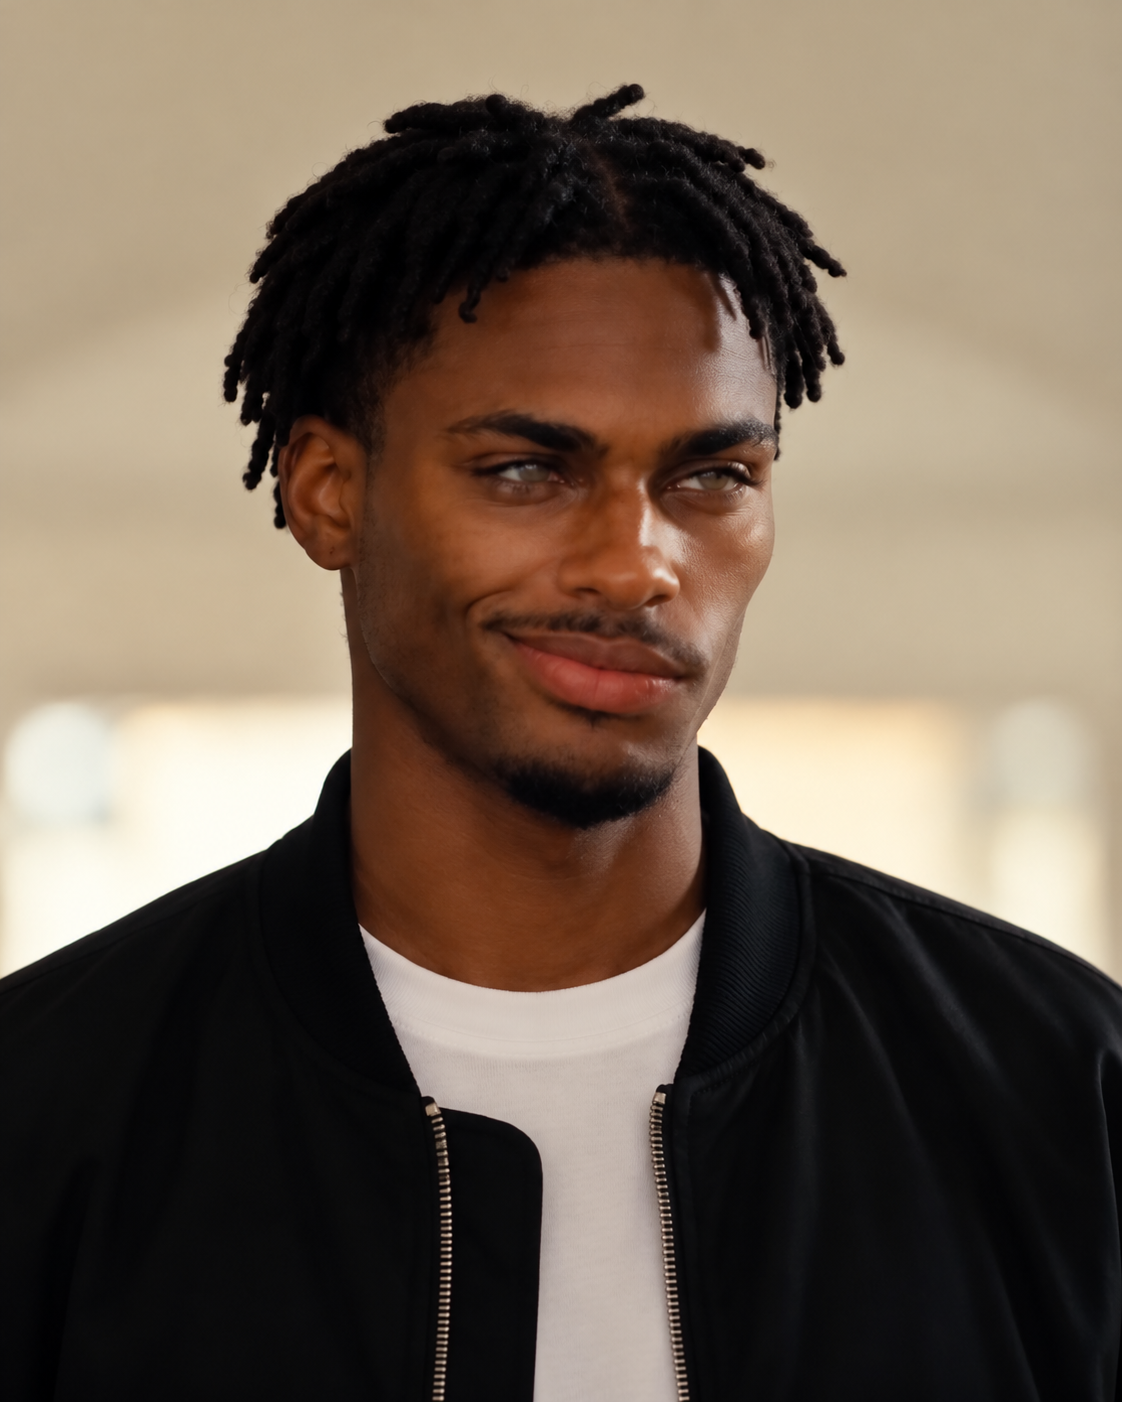
Start with one person facing the camera. Both eyes should be visible, the face should be in focus, and soft, even light should make the main features easy to see. A plain background can help keep attention on the subject. Dark clothing can support the mood as long as it does not hide the jawline, hairline, or other facial detail.
Skip group photos, side profiles, sunglasses, heavy filters, motion blur, deep shadows, and images where the face occupies only a small part of the frame. If the original image is wide, crop it only if doing so makes the face easier to see. The tool accepts JPG, PNG, and WebP files up to 10 MB. Only use a photo you own or have permission to upload; every image is checked for safety before generation begins.
How to make a Damon Salvatore AI video step by step
Once the portrait is ready, follow these steps:
- Open the photo-to-video tool.
- Upload one permitted portrait that follows the photo checklist above.
- Wait for the image safety check and review the format information shown on the page.
- Review the current credit options, then start the generation.
- Track the task in My videos. When it succeeds, download the MP4.
Generation uses credits. If a generation fails, the deducted credits are returned. A successful video still uses credits, so inspect the source photo before submitting it instead of repeatedly using an image with hidden eyes, poor focus, or heavy shadows. Keep the original MP4 until you have checked it on the platform where you plan to post it.
Damon Salvatore AI vs a CapCut template
The two workflows start with different materials. A CapCut template lets you place media you already have into a preset edit. The Damon Salvatore AI workflow starts with one portrait and generates the church-scene clip from that image. It is intended for someone who wants the subject placed into the sequence without first filming the scene.
Choose the AI workflow when the missing piece is the scene clip itself. Choose a template editor when you already have photos or videos and mainly want to arrange them in a preset edit. You can also combine the approaches: download the generated vertical MP4, then bring it into an editor if you want to add captions, shorten it, or place it beside other footage. Those later edits are optional; the generated file can also be reviewed and posted on its own.
Post your Damon Salvatore AI video to TikTok and Instagram Reels
For TikTok, start a new post, use the upload option currently shown in the app, and select the MP4 from your device. Preview the video from beginning to end. Keep any added text away from the top and bottom edges, where interface elements may cover it, and listen to the included reference audio before adding another track. Use a caption that accurately describes what you made.
For Instagram Reels, create a Reel and import the same vertical file. Pick a cover frame where the face is readable, preview the full ten seconds, and check that captions remain visible. TikTok and Instagram can change their button labels and publishing controls, so follow the current options on your screen. On either platform, confirm the audience setting, crop, cover, audio, and final preview before sharing. For more examples and guides, visit the Damon Salvatore AI blog.
Damon Salvatore AI tutorial FAQ
Is “Damon Salvatore AI tuto” the same topic?
Yes. “Tuto” is a shortened form of “tutorial”; both searches refer to instructions for making a Damon Salvatore AI video.
What photo format can I upload?
Use a JPG, PNG, or WebP image no larger than 10 MB.
Do I need a CapCut template?
No. The Damon Salvatore AI video is generated from one portrait. Editing the downloaded MP4 afterward is optional.
Can I use another person’s photo?
Only upload a photo you own or have permission to use.
Does the finished video include audio?
Yes. The downloaded MP4 includes the reference audio, so listen to it before publishing or adding another track.
What happens if generation fails?
Credits deducted for a failed generation are returned. A successfully completed video still uses credits.
Is this an official The Vampire Diaries tool?
No. It is an independent tool and is not affiliated with or endorsed by The Vampire Diaries or its rights holders.
Use this guide as your final checklist: begin with a clear, permitted portrait; inspect the completed MP4; then publish only after its crop, cover, audio, text, and caption look right.